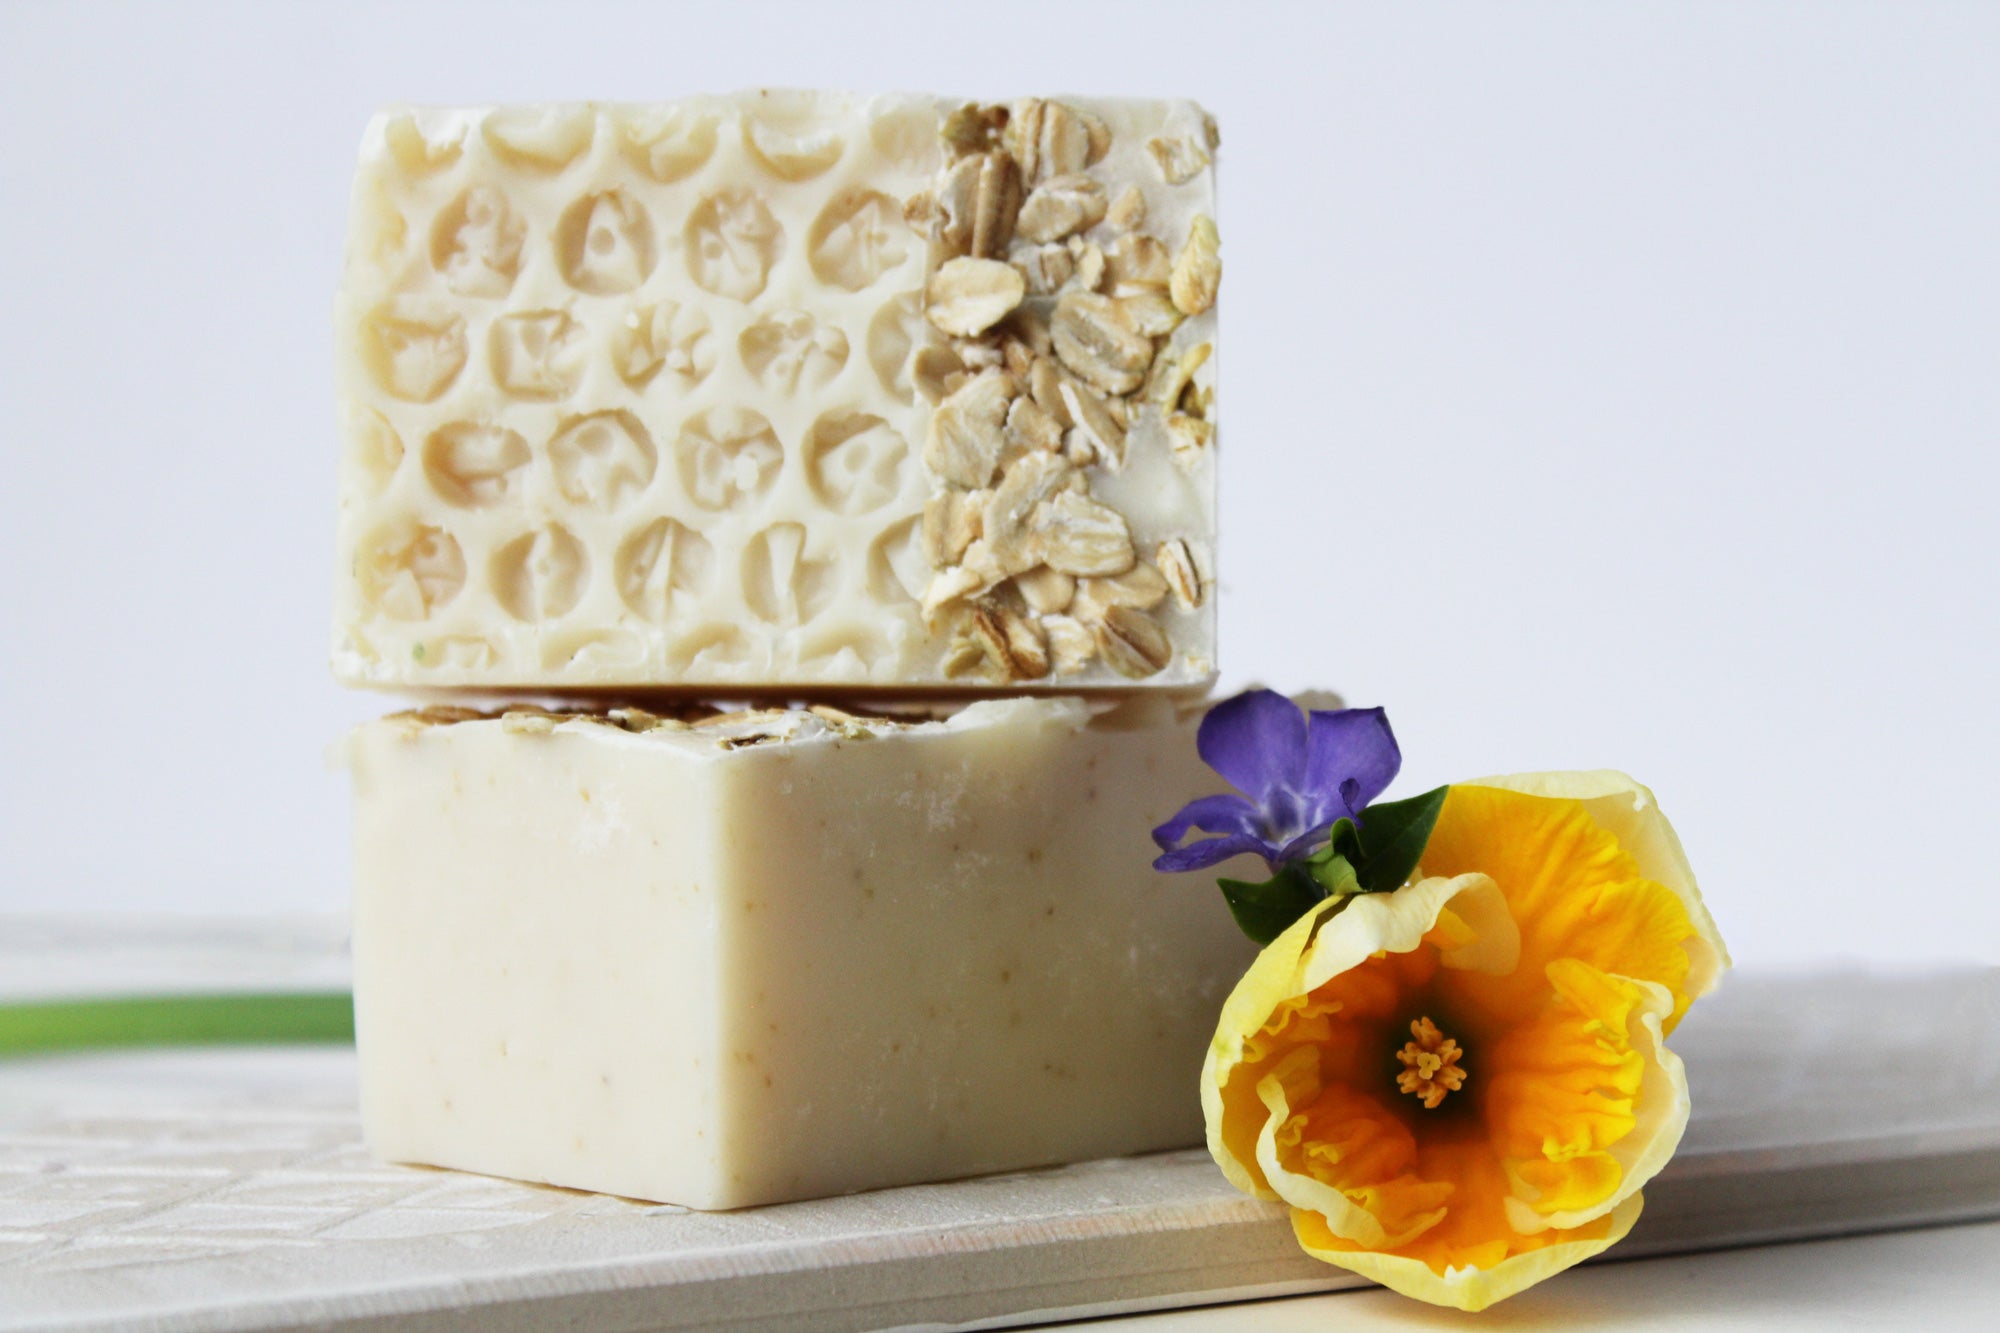


Cold Process Soap Recipe for Silky Smooth Skin
If you’ve ever dreamed of bringing the spa to your bathroom, this eucalyptus spearmint salt bar with goat milk is your next must-try DIY. It’s refreshing, moisturizing, and packed with skin-loving minerals—and yes, it smells amazing. In this tutorial, I’ll walk you through my cold process recipe, including how to work with Dead Sea salt, goat milk powder, and essential oils while avoiding common pitfalls.
You can also watch the full soap-making process on my YouTube channel here:
💜 DIY Salt Soap Goat Milk Cold Process Soap Bar
Why Salt Soap Bars?
Salt soaps are a hidden gem in natural skincare. They gently exfoliate, help detoxify the skin thanks to natural minerals in salt, and last longer in the shower. I love using Dead Sea salt for its higher mineral content—it gives the bar a luxurious feel.
Ingredients You’ll Need
Here’s the exact recipe I used. This makes a small batch perfect for testing or gifting.
Basic Recipe:
- 3.2 oz distilled water
- 2.2 oz lye (Sodium Hydroxide)
- 0.6 oz Dead Sea salt
- 14.4 oz Coconut oil
- 0.8 oz Canola oil
- 0.8 oz Castor oil
- 2.6 oz Goat milk powder – make into a slurry with a bit of distilled water
- Essential Oil Blend: Eucalyptus & Spearmint (follow IFRA usage rates)
- Optional: Colorants, Epsom Salt, embeds made from other CP soaps
Tools I Recommend:
Step-by-Step Instructions
1. Prepare Your Lye Solution
Start by dissolving the Dead Sea salt in your distilled water, then carefully sprinkle in the lye while stirring. Always add lye to water, never the other way around! Stir gently until everything is fully dissolved. If you see any undissolved bits, strain with a fine mesh strainer.
⚠️ This mixture gets HOT. Set it aside to cool while you prep your oils.
2. Melt Your Oils
Melt coconut oil until fully liquefied, then add your canola and castor oils. Allow the mixture to cool to around 100–110°F.
3. Goat Milk Slurry
Mix your goat milk powder into a small amount of distilled water to make a smooth slurry. Add this to your oils before combining with lye.
4. Blend & Trace
Slowly pour the cooled lye solution into the oils. Use a stick blender to bring it to a light trace—the texture should be like thin pudding.
5. Add Essential Oils & Colorants
Add your eucalyptus and spearmint essential oils (check IFRA-safe usage rates!) and any colorants you love. I used Marblers Mica Powder for a natural, spa-like green swirl.
Optional: Add colored Epsom salts or embeds for decoration—see my video tutorials for how I color salts and make soap embeds.
6. Pour into Molds
Scoop or pour your mixture into your silicone molds. Salt bars tend to harden quickly, so don’t delay!
7. Unmold & Cure
Unmold after 24–48 hours. Cure for at least 4–6 weeks so the soap becomes mild and long-lasting.
Tips from My Experience
- Always strain your lye/salt solution if you see undissolved salt granules. Even one chunk can ruin your soap’s texture.
- Salt bars set up fast—work quickly and confidently once you hit trace.
- Go light on colorants; salt bars look stunning with natural swirls or minimalist designs.
- Add essential oils just before pouring to preserve their aroma and prevent acceleration.
Related Soap Projects You’ll Love
Want to try a variation? Check out my Lavender Sea Salt Soap Bar video on YouTube:
DIY Recipe Lavender Salt Making Cold Process Soap
And don’t miss these related blog articles for more DIY inspiration:
- 10 Reasons Cold Process Soap Is Good for Your Skin
- Salts For Body Care Projects: Types, Uses, and How to Color Bath Salts
- Essential Oils: A Beginner’s Guide
Watch the Full Tutorial
Click here to watch the full DIY Salt Soap Goat Milk Cold Process Soap Bar tutorial on YouTube
Make sure to like, comment, and subscribe for more soap and skincare recipes!
Share Your Results!
Have you tried making this salt soap bar?
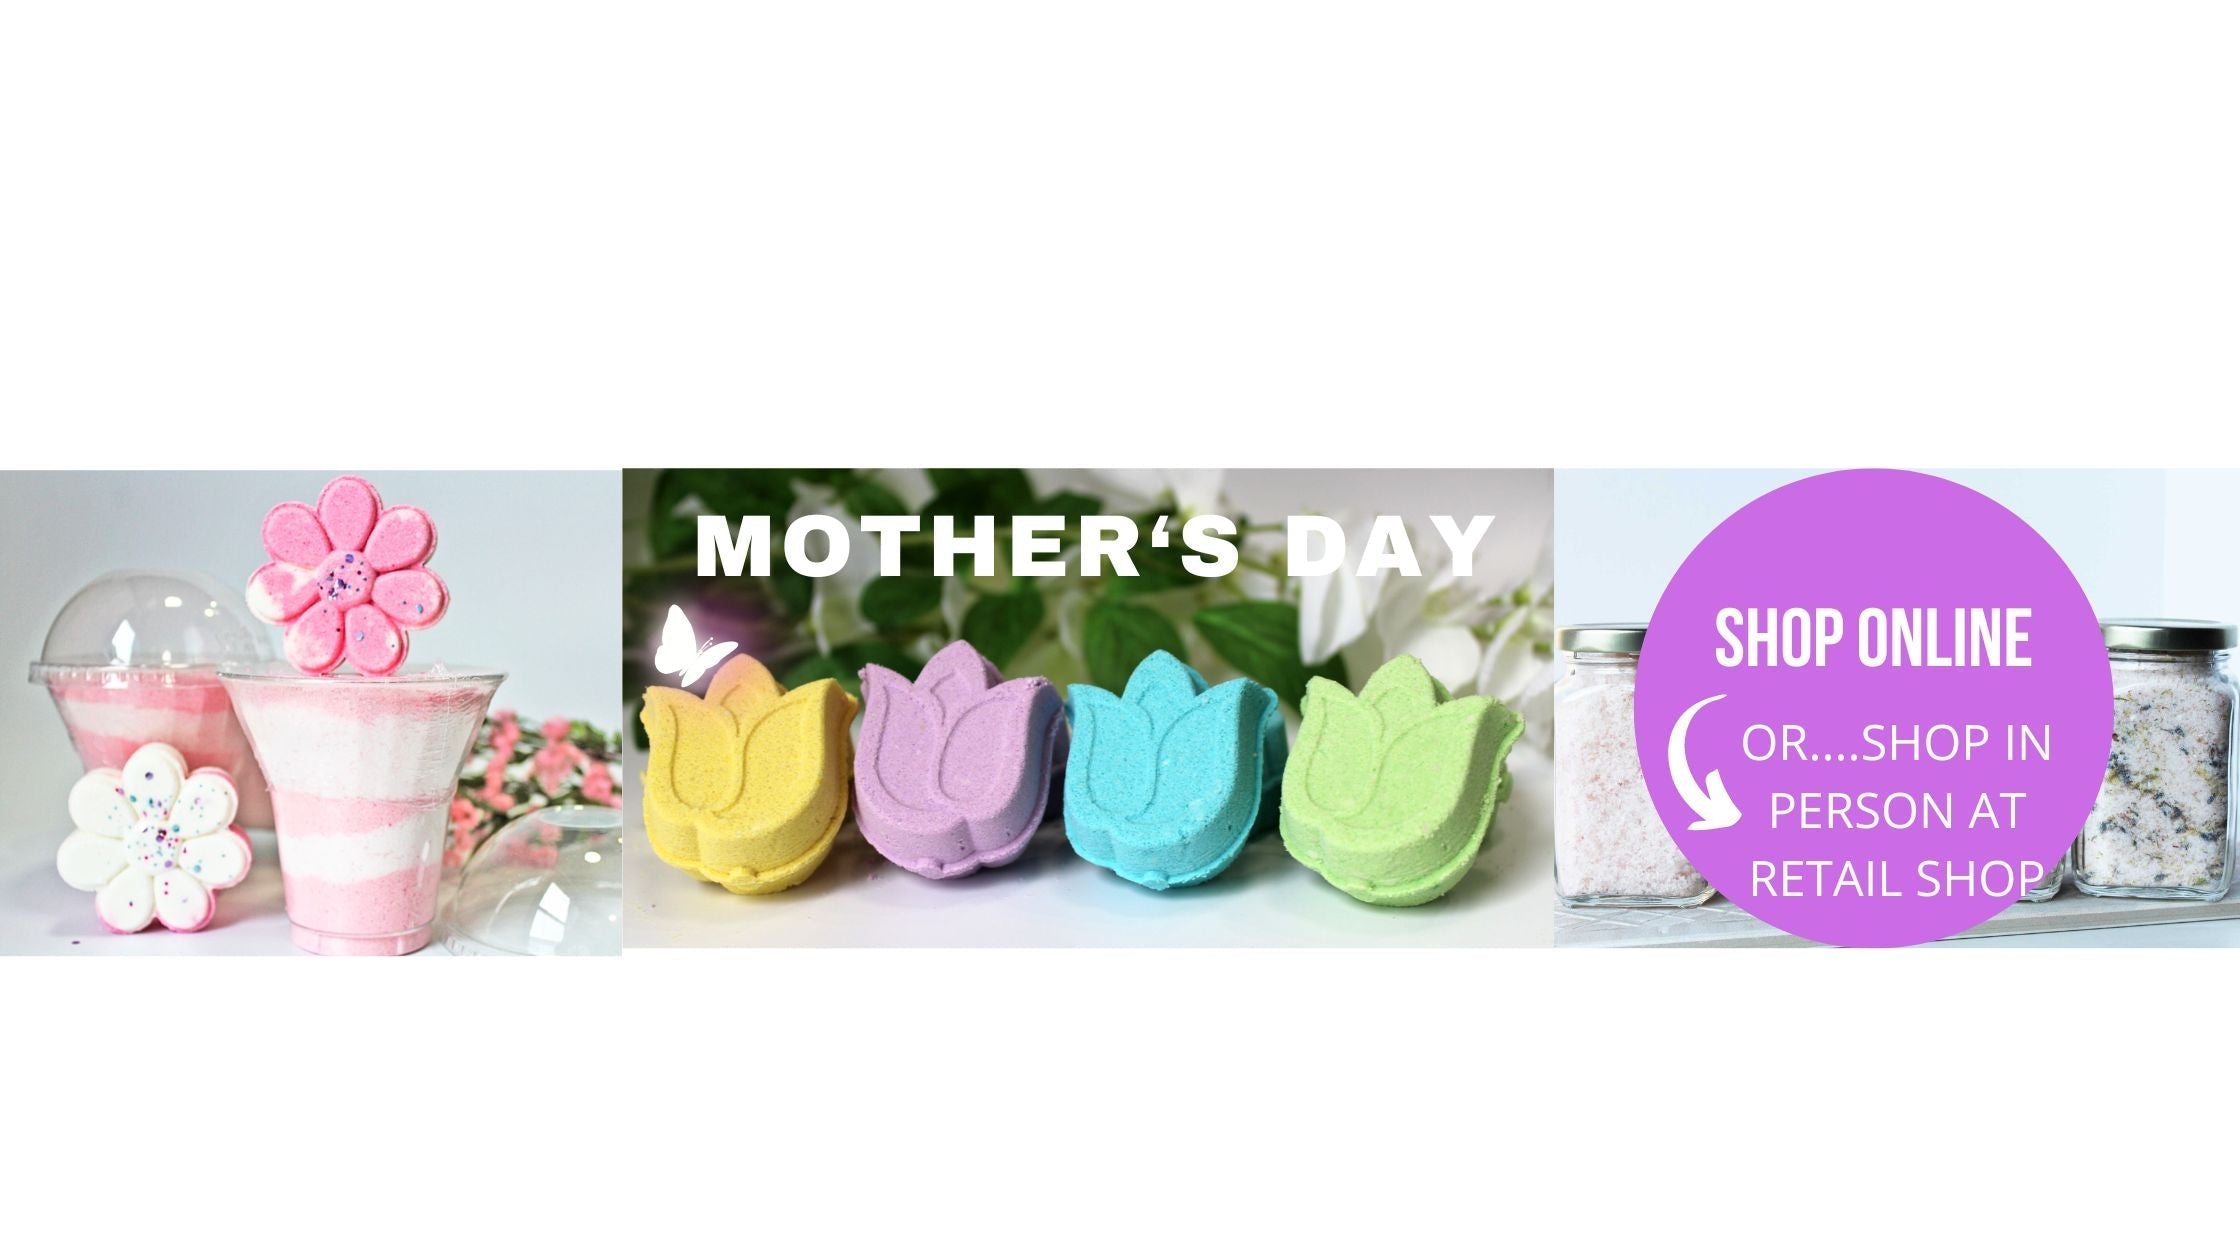
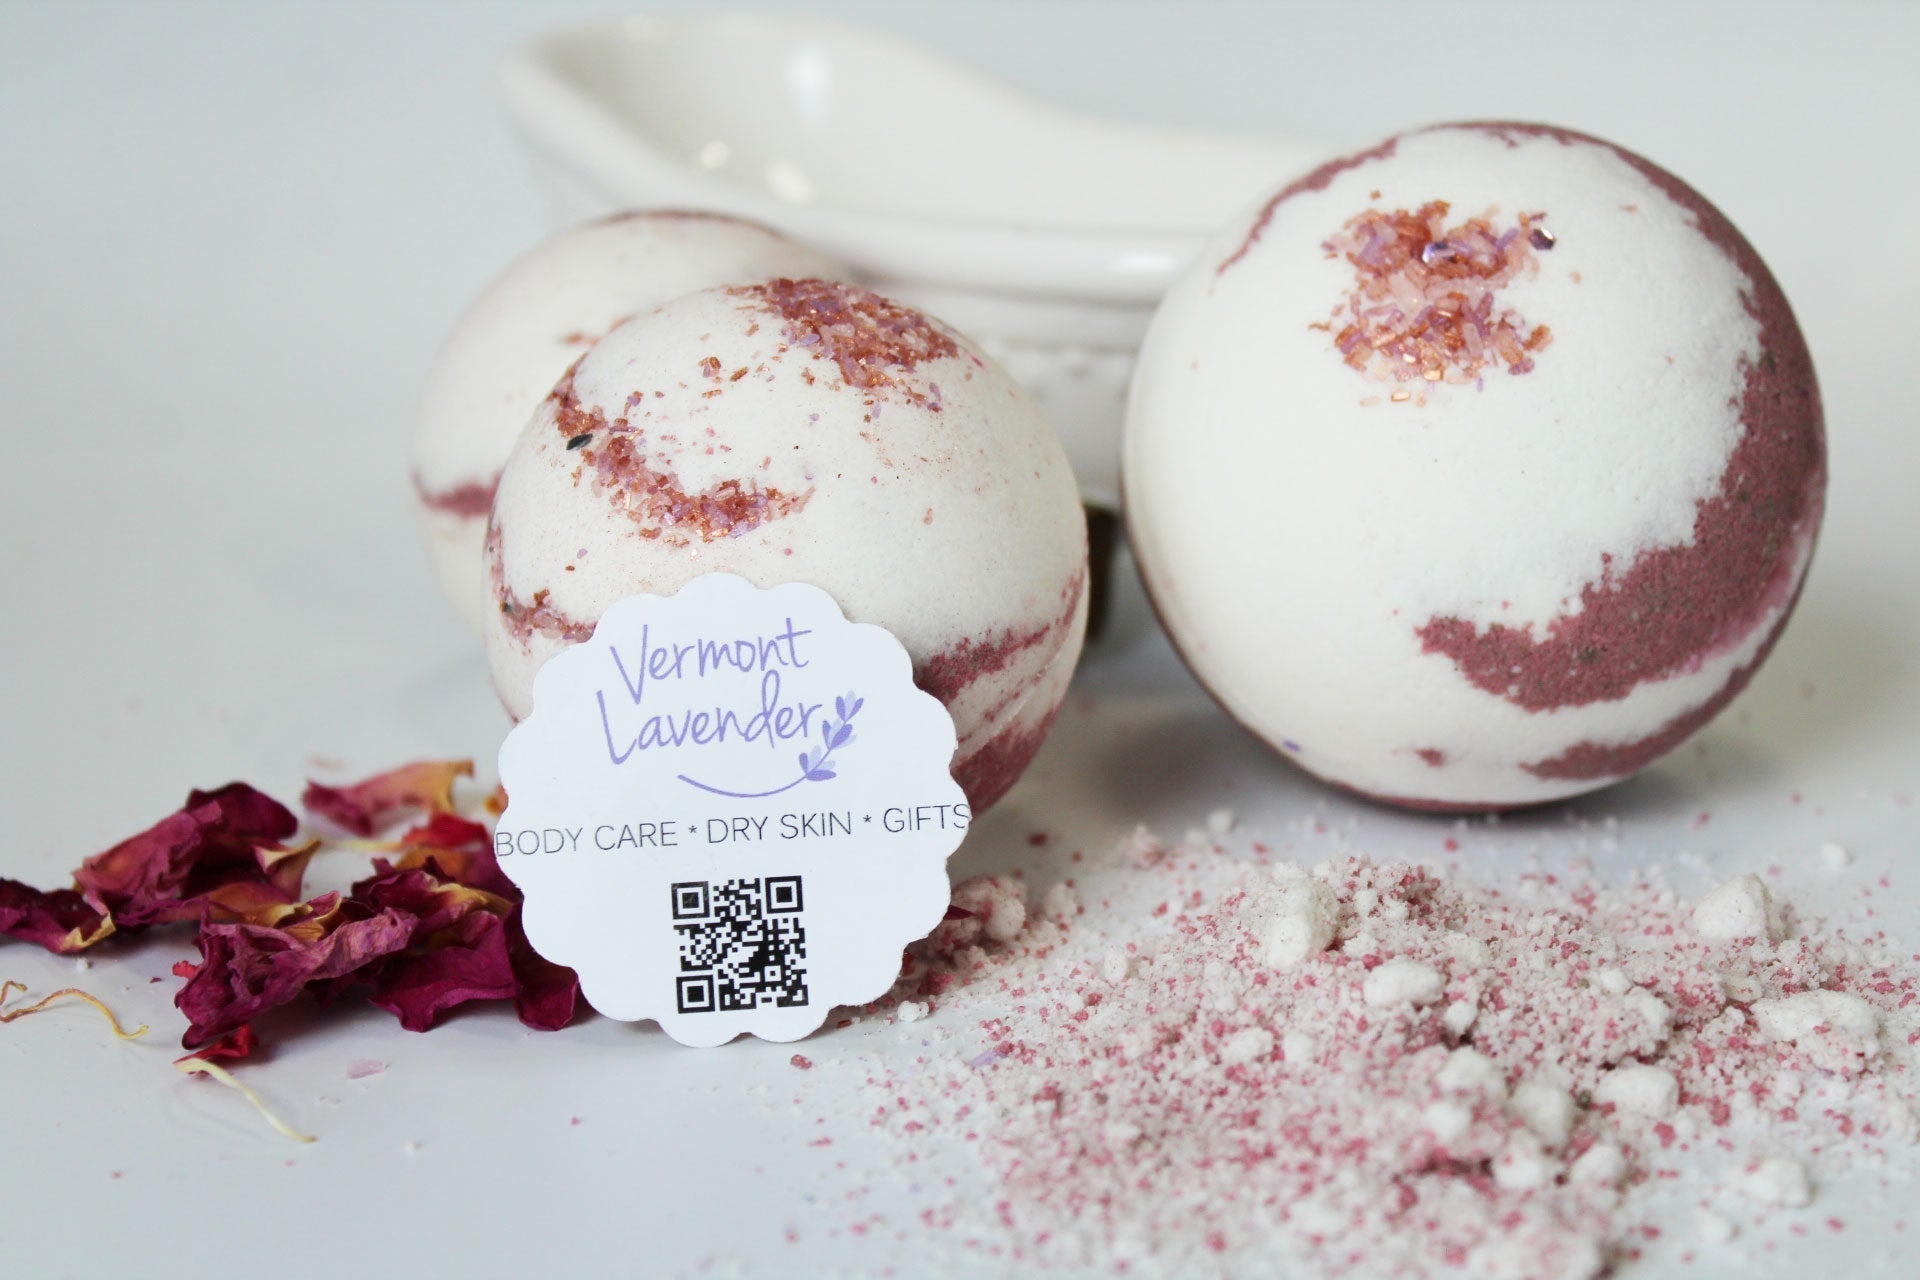
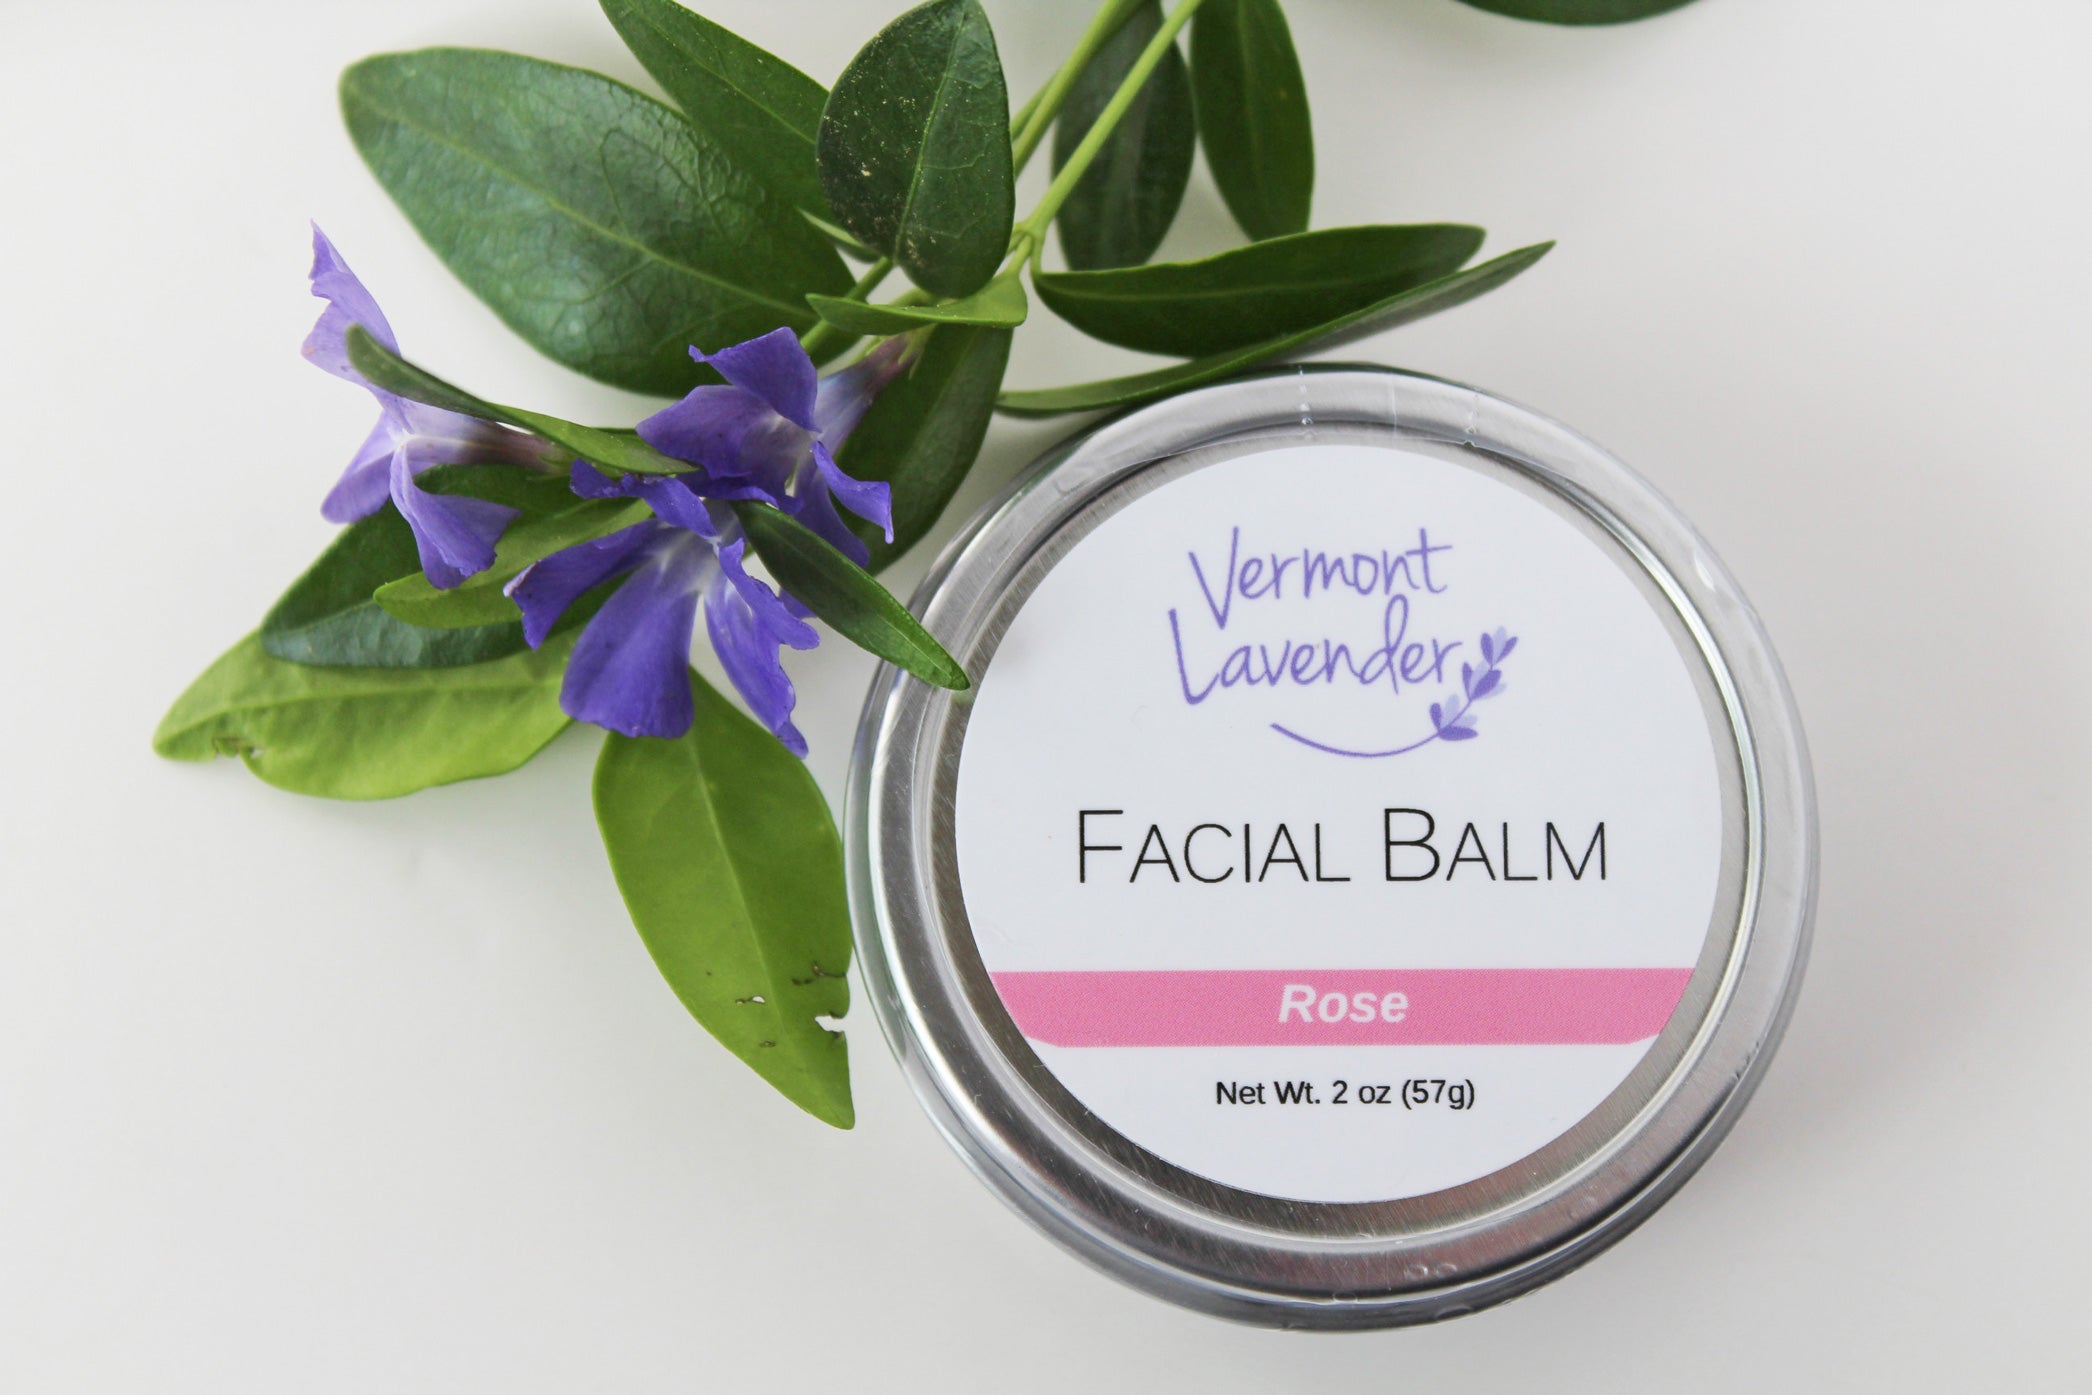
We’d love to hear how it turned out! Drop a comment below or tag us on social media. Don’t forget to check out our shop for handmade lavender skincare essentials and more!
🎁 Visit Our Shop – Vermont Lavender

Affiliate Link Disclosure
Some links in this article may be affiliate links, which means I earn a small commission if you purchase through them—at no extra cost to you. Thank you for supporting me and my small business! Your contributions help keep my passion for natural skincare, lavender, and creativity thriving. I only recommend products I trust and love. Thanks for being part of my journey! As an Amazon Associate, I earn from qualifying purchases. At no extra cost to you.
DIY Recipe Disclaimer
We are not responsible for the products you create from our recipe. You alone are responsible for product and recipe testing to ensure compatibility and safety.