


Winter is a different challenge when it comes to making DIY shower steamers. If you've ever had a recipe that works perfectly in summer and then suddenly cracks, crumbles, or refuses to cooperate when we turn on the indoor heat you’re not alone. I’ve had the same thing happen to me. Indoor humidity can drop to as low as 20-25% during winter months, and that dry air pulls moisture out of your mixture faster than you'd think possible.
his aromatherapy for winter blog post goes hand-in-hand with my YouTube video "Making Shower Steamers in Winter" on the Vermont Lavender channel. If you like seeing the molds, texture, and timing in real life, definitely watch the video here: https://youtu.be/79OwJ6JtNZY
Below, I'm breaking everything down in plain language troubleshooting what changes in winter, what mistakes I've made, and what actually works when indoor humidity drops and Vermont winter sets in for your handmade bath products.
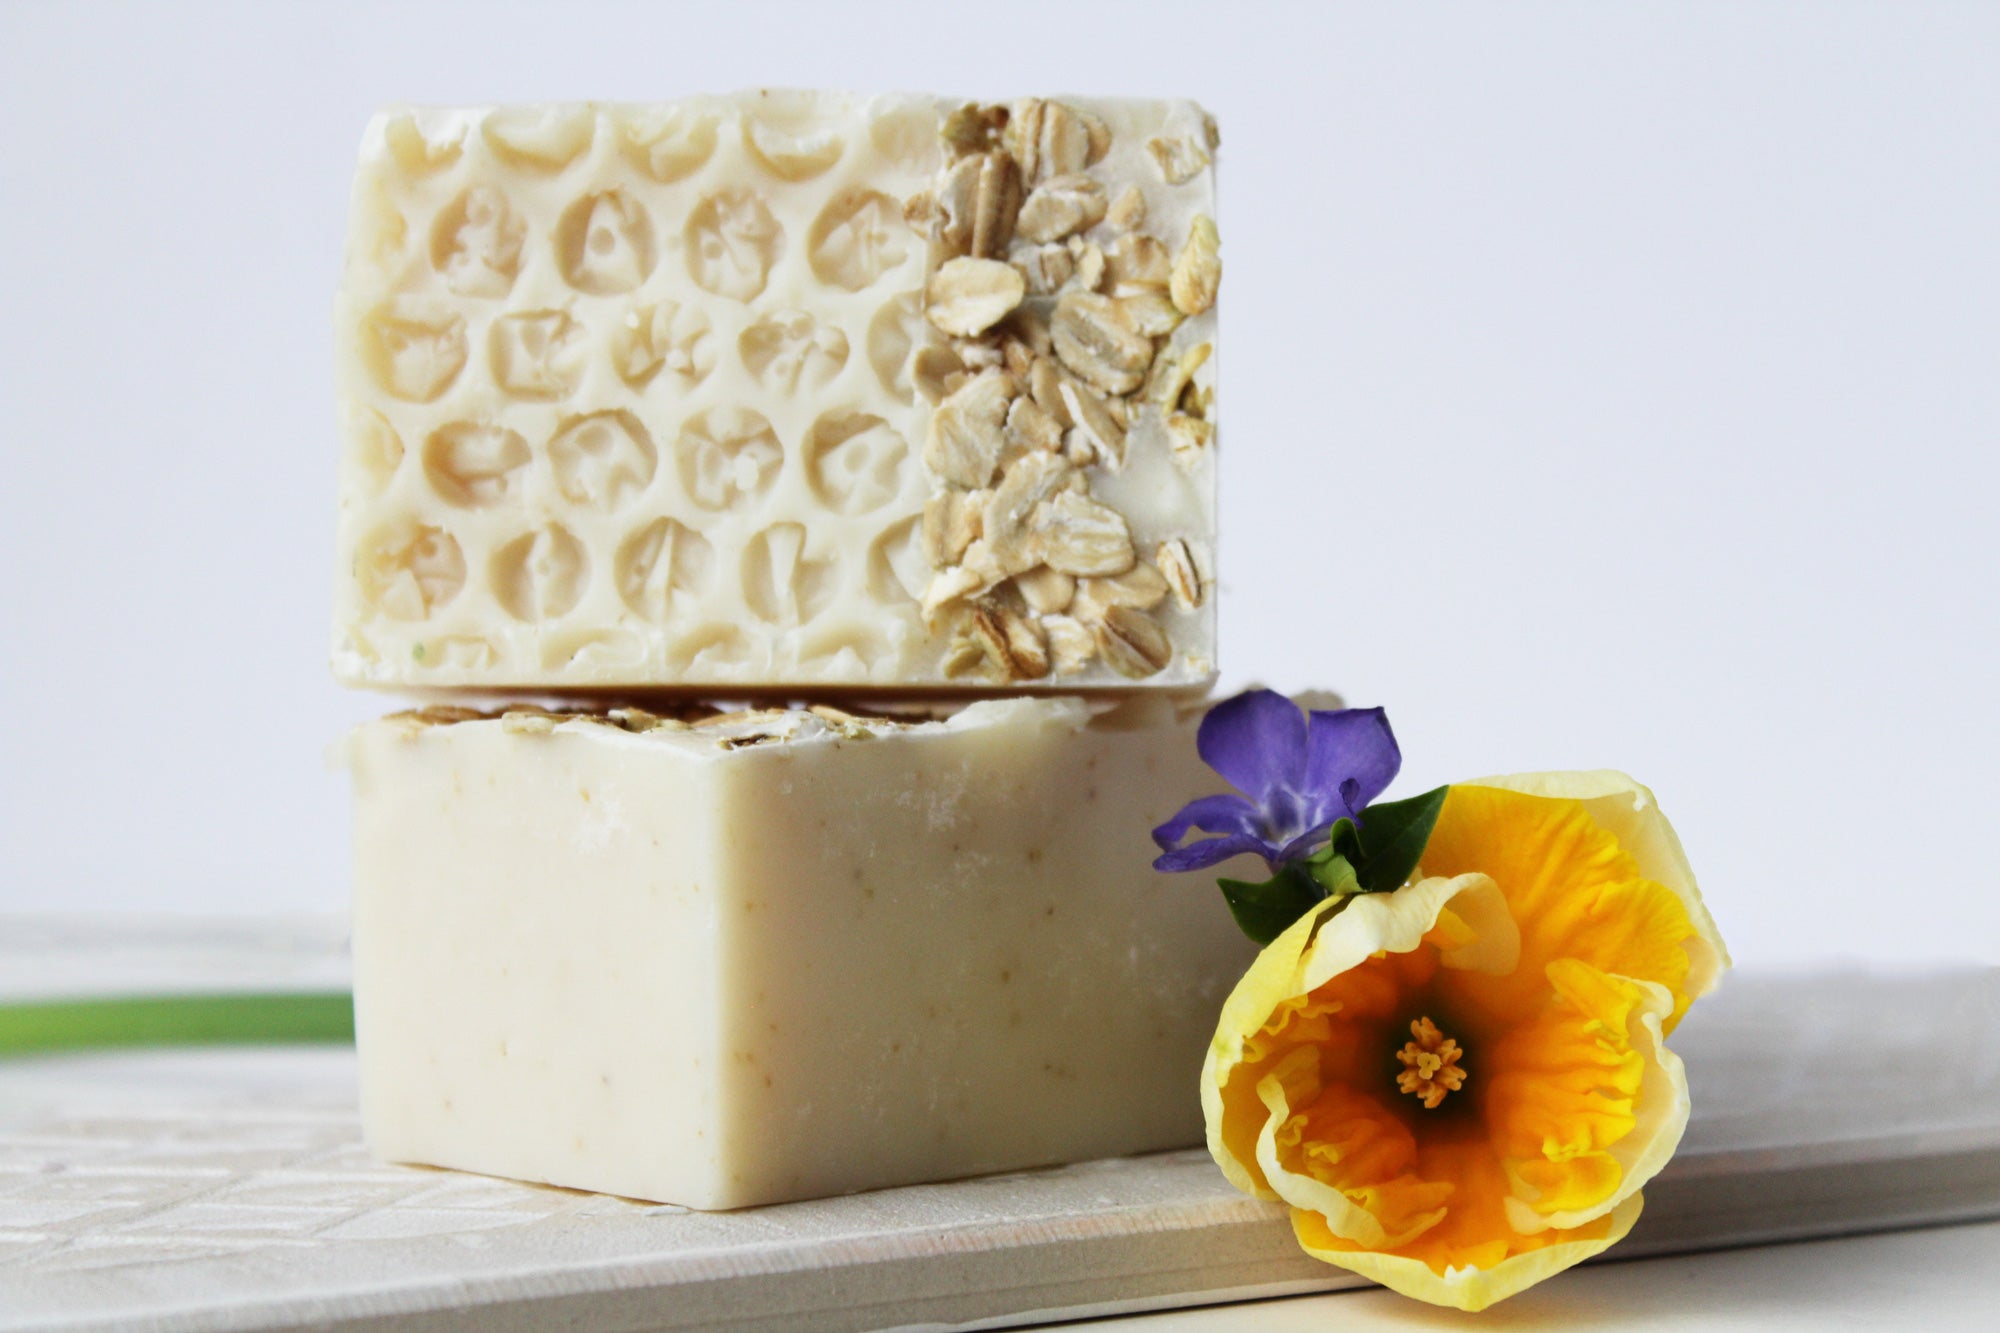
Shop this collection:

Understanding Winter Humidity and Shower Steamer Chemistry
In winter, especially here in Vermont, indoor humidity can drop to 20–25%. That dry air pulls moisture out of your mixture fast, whether you want it to or not.
Why winter changes everything:
- In warmer months, ambient humidity helps bind citric acid and baking soda naturally
- Winter air fights evaporation every step of the way
- Dry conditions cause steamers to crack after unmolding
- Edges crumble more easily or even the entire shower steamer
- Mixtures won't hold detail as well
None of that means your recipe is bad. It means the environment has changed, and you need to adapt your technique accordingly.
Tip #1: Speed Up Your Mixing Process
This one took me years to learn by acting quickly! In winter, you cannot take your time mixing like you do in summer. If you pause to answer the phone or refill your spray bottle, the mix can dry out mid-batch.
What I do now:
- Measure all ingredients first before starting
- Have molds ready to go
- Keep spray bottle filled and within reach 91% rubbing alcohol or witch hazel
- Pre-measure essential oils and fragrance oil blends
- Work continuously once mixing starts no pausing
- Use a paper plate to stop the evaporation from the mixture
That alone fixed 50% of my winter issues. The key is eliminating downtime between steps so your mixture doesn't lose precious moisture to the dry air.
Tip #2: Master Moisture Control Without Overdoing It
Winter air tricks people into adding too much liquid, which leads to early fizzing, weak steamers, or warped shapes. The secret is finding that perfect balance.
My moisture control method:
- Mix quickly and thoroughly
- Test consistency by squeezing a handful
- Look for texture like damp sand
- Add more moisture only if mixture feels powdery
I use Isopropyl Alcohol 91% (IPA) because it evaporates quickly and reduces premature fizzing. Easily purchased at the grocery store. Or use the link for 99% (IPA) rubbing alcohol: 👉 Affiliate link: https://amzn.to/4dwqpyX
🎁 Shop my Amazon Store: Shower Steamer Supplies & Must-Haves https://amzn.to/4c4nUUM
The "damp sand" test is your best friend, if the mixture holds together when squeezed but still crumbles apart easily, you've hit the sweet spot.
Tip #3: Choose Winter Friendly Molds
Highly detailed molds are less forgiving when the air is dry. Your mold choice can make or break your winter batches.
Best mold characteristics for winter:
- Silicone molds with a little flex
- Medium-depth designs that aren't too intricate
- Shapes with rounded rather than ultra-sharp edges (Although you’ll see I’ve used the Tulip shaped Cada mold and explain my process.)
- Avoid highly detailed molds unless humidity is controlled
My favorite winter molds:
- Small squares Wilton Bite Size Silicone Mold → https://amzn.to/3yRKsJ9
- Tulip or floral-style silicone molds (featured in the video)
If a mold requires perfect compression and has lots of fine details, winter will test your patience. Save those for humid summer months!
Tip #4: Adjust Your Pressing Technique
Over-pressing in winter can cause surface cracking as the outside dries faster than the inside. Your pressing technique needs to be gentler but still effective.
What works better in winter:
- Fill mold slightly overfull
- Press just until compact – more pressure needed
- Reduce pressure if using the Arbor hand press (see video)
Think "firmer but gentle" and maybe "compress with all your might." You want the steamer compact enough to hold together, especially when being released from a 3D molds like the Tulip shaped mold or square mold.
Tip #5: Optimize Dry Time and Unmolding
Here's what I’ve learned, winter air dries steamers fast, but unevenly. Rushing this step will ruin an otherwise perfect batch.
My unmolding strategy:
- Leave steamers in molds longer (overnight)
- Avoid placing near heat vents and fans
- Let them release naturally without forcing
- Check firmness before unmolding
- Be patient, rushed unmolding = broken steamers
The outside might feel dry while the inside is still setting. Giving your steamers extra time in the mold prevents that disappointing moment when a perfect looking steamer crumbles in your hands.
Winter Storage Solutions to Prevent Cracking for Winter Handmade Bath Products
Dry winter air doesn't stop affecting steamers after they're made. Proper storage is crucial for maintaining quality.
Storage best practices:
- Store in airtight containers immediately after unmolding
- Use silica gel packets to control moisture (depending on your area and time of year)
- Avoid open shelving near heat sources
- Keep away from drafty areas
- Label containers with batch date
👉 Rechargeable silica gel packets: https://amzn.to/4huEoaL
This prevents:
- Shrinking over time
- Cracking days after creation
- Loss of scent throw
- Surface texture changes
Essential Oil Considerations for Winter Steamers
Cold air can dull aroma perception, which makes people think their steamers are "weak." They're not, it's just how our noses work in different conditions.
Winter essential oil tips: Seasonal Scents
- Use menthol crystals as a natural scent boost
- How to Use Menthol Crystals SAFELY https://youtu.be/e5ymLXyKsiI
- Use oils with strong vapor presence (eucalyptus, peppermint, rosemary)
- Blend with grounding oils like lavender to soften sharp notes
- Stick to safe IFRA usage rates always
- Consider slightly higher percentages within safe ranges
- Test scent throw in actual shower conditions
If you're new to aromatherapy steamers, this post pairs well: Do Aromatherapy Shower Steamers Work? https://vermontlavender.com/blogs/news/aromatherapy-shower-steamers
Why Winter Is Actually Prime Season for Shower Steamers
Even with the extra care required, winter is actually prime season for shower steamers in terms of customer demand, self-care routines and aromatherapy for the winter blues.
What people want in winter:
- Sinus relief from dry indoor air
- Stress support during dark months
- Quick self-care moments without committing to a bath
- Respiratory support during cold and flu season
- Energizing morning routines
Steamers shine in winter when baths feel like too much work and people need fast, effective aromatherapy solutions.
Watch the Video: Real-Time Winter Making
If you want to see the texture, molds, and timing instead of guessing, the video walks through it step by step.
Making Shower Steamers in Winter – Vermont Lavender 👉 https://youtu.be/79OwJ6JtNZY
Related Resources for Shower Steamer Makers
To go deeper into shower steamer making, these articles pair perfectly with winter production:
- Shower Steamers 101: Your Guide to Fizzy Shower Fun https://vermontlavender.com/blogs/news/what-is-a-shower-steamer-shower-fizzy-bath-fizzy-shower-puck-body-bomb
- Shower Steamer | Making Shower Fizzies at Home (Free Recipe) https://vermontlavender.com/blogs/news/shower-steamer-making-shower-fizzies-at-home-diy-recipe
- Lavender #1 Ingredient in Skin Care https://vermontlavender.com/blogs/news/lavender-1-ingredient-in-skin-care
If winter shower steamer making feels harder because it is. But once you understand why the challenges exist, it becomes predictable instead of frustrating.
The key takeaways? Move faster during mixing. Control moisture carefully without overdoing it. Respect the dry air and adjust your entire process accordingly. And most importantly, don't assume your recipe is broken just because January shows up!
With these five tips of faster mixing, precise moisture control, appropriate mold selection, pressing, and proper storage you'll be creating beautiful, professional quality shower steamers all winter long. The season might be challenging, but it's also when your customers need these products most!
Have you tried making shower steamers in winter? Tell me what worked (or didn't!) in the comments. Don't forget to subscribe to the Vermont Lavender YouTube channel for more behind-the-scenes maker tips.
Looking for finished steamers? 👉 Visit our shop at vermontlavender.com for seasonal self-care favorites

Affiliate Disclosure
Some links in this article may be affiliate links, which means I earn a small commission if you purchase through them at no extra cost to you. Thank you for supporting me and my small business! Your contributions help keep my passion for natural skincare, lavender, and creativity thriving. I only recommend products I trust and love. Thanks for being part of my journey! As an Amazon Associate, I earn from qualifying purchases.
